I also wrote a model modification tutorial, you can check it out here: https://vrchat.yexca.net/
Intro
Recently, a friend told me that pianos in VRChat can play themselves. So I looked into it and wrote this article to document the process. Note: It seems auto-play only works in PC mode. Of course, you can try casting your desktop in VR (doge).
Without Using a MIDI File
I. Setup
To enable automatic piano playback, you’ll need two software tools and one browser plugin.
1) loopMIDI
This software is available directly from the official website: loopMIDI-Tobias Erichsen (tobias-erichsen.de)
Direct download link: loopMIDISetup_1_0_16_27.zip (May be outdated due to version updates)
2) Jazz-Plugin
When installing, keep the default installation path, otherwise, it might not work correctly.
Windows: Click to download (Plugin official link) (If the official link doesn’t work, you can also click here to download )
Mac OS X: Click to download
Linux version: Click to download
3) Browser Plugin: Jazz-MIDI
Chrome, Opera, or other Chromium-based browsers (e.g., 360 Secure Browser): Click to install from Chrome Web Store
If You Can’t Access the Chrome Web Store
For Chrome versions before 73, download and use Jazz-MIDI-crx2.crx . For Chrome 73 and later, download and use Jazz-MIDI-crx3.crx .
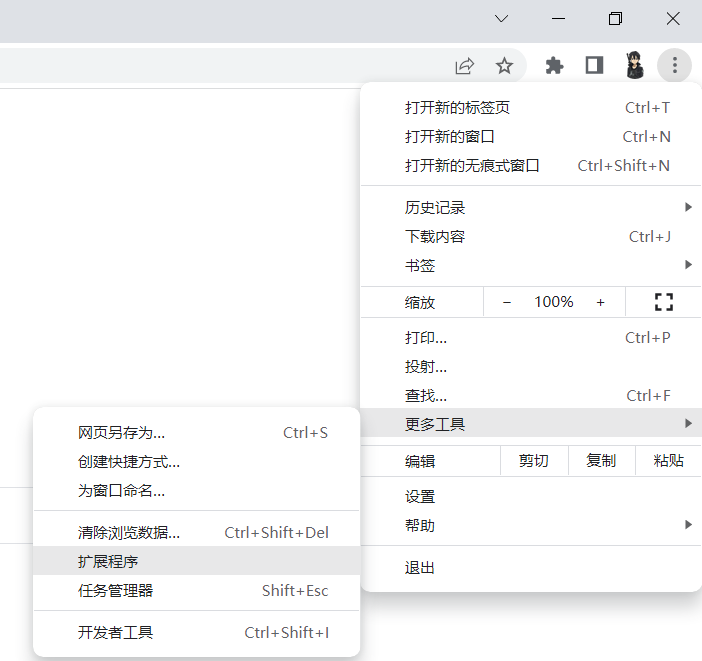
Accessing Extensions in Chrome
- Type (or click here directly) chrome://extensions into the address bar and press Enter to access extensions.
- As shown:
Accessing Extensions in Edge
- Type (or click here directly) edge://extensions/ into the address bar and press Enter to access extensions.
- As shown:
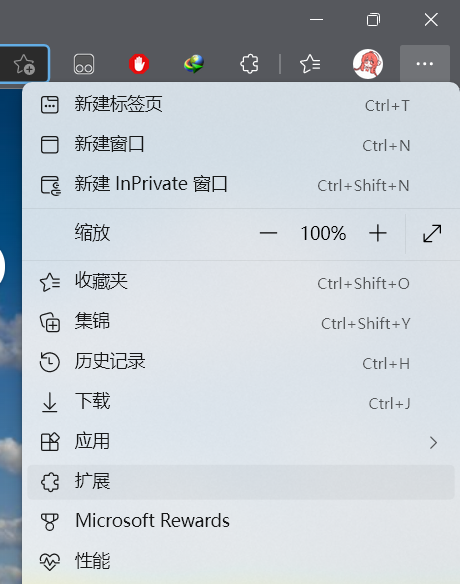
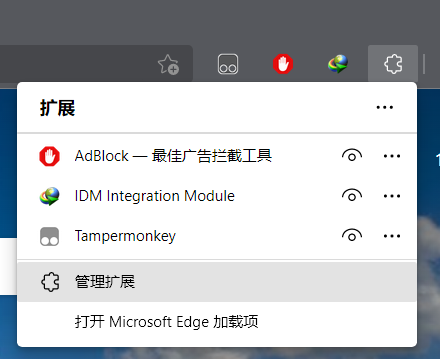
If a pop-up appears, click Manage extensions.
After Opening the Extensions Interface
First, enable ‘Developer mode’. In Chrome, it’s top-right; in Edge, it’s mid-left.
Then, simply drag the downloaded .crx file into the extensions interface.
II. Steps
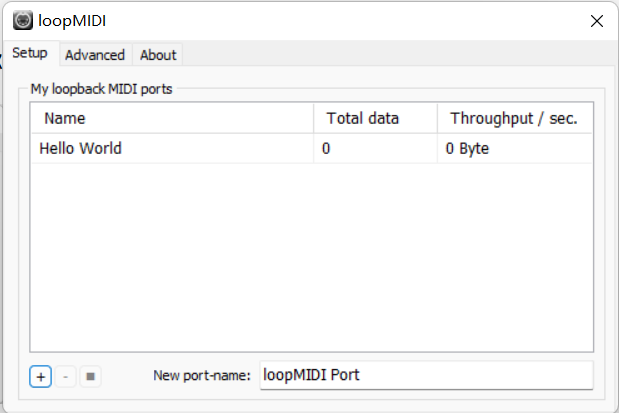
1) Open loopMIDI, Create a New Project
To create a new project, enter a name in the bottom-right New port-name field, then click the + (plus) button in the bottom-left.
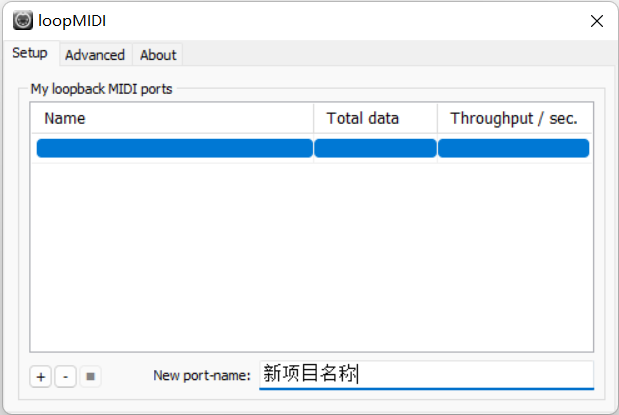
Once done, the project will appear at the top. Here, we’ll use Hello World as the project name.
2) Start Playback
<1> Find the Song to Play
First, open the website MidiShow – Leading MIDI Music Exchange and Download Site
Register, log in, then search for the song you want to play.
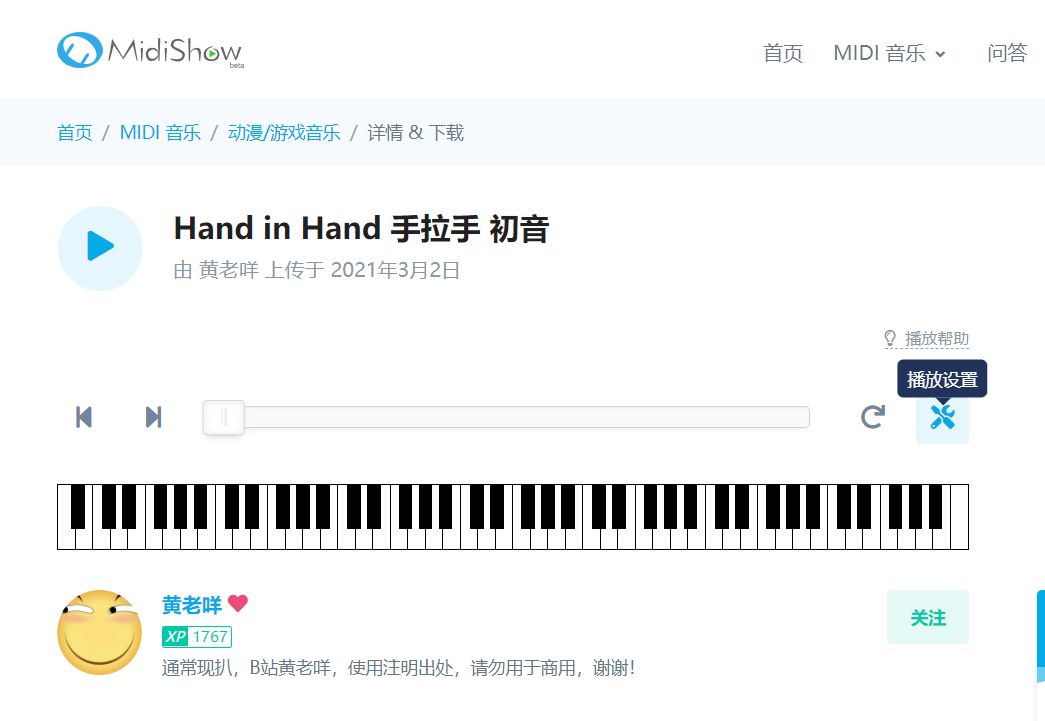
<2> Configure Playback Settings
As shown, using Hand in Hand as an example, click the Playback Settings button.
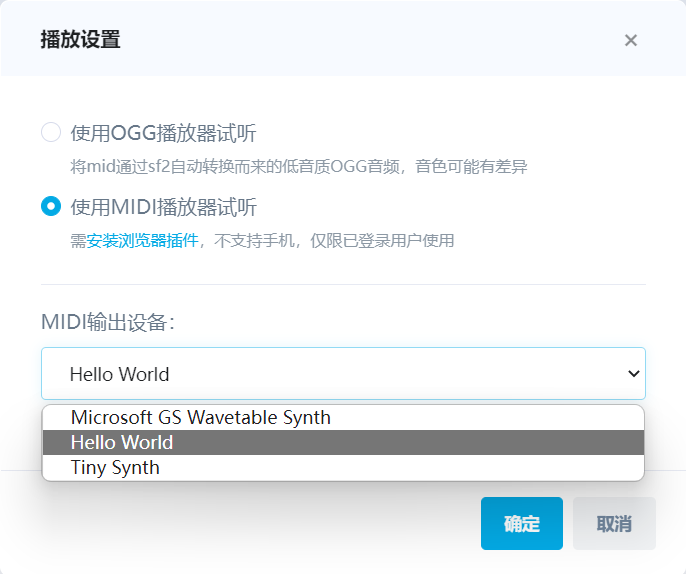
Configure as shown. For MIDI Output Device, select the project you just created with loopMIDI, which is Hello World here.
<3> Start Playing
Now, go next to the piano in the Chinese World, select the bench, sit down, and then click play on the webpage.
If Using a MIDI File
First, ensure the MIDI file is a piano score. Multi-track files might get messy, so edit them yourself if needed.
I. Preparation
1) loopMIDI
This software is available directly from the official website: loopMIDI-Tobias Erichsen (tobias-erichsen.de)
Direct download link: loopMIDISetup_1_0_16_27.zip (May be outdated due to version updates)
2) MidiPiano
I got this software from a download site (first Google search result).
Website link: MidiPiano – Download (softonic.com)
II. Steps
1) Create a New Project in loopMIDI
To create a new project, enter a name in the bottom-right “New port-name” field, then click the “+” (plus) button in the bottom-left.
Once done, the project will appear at the top. Here, we’ll use “Hello World” as the project name.
2) Open MidiPiano, Configure Settings
Click the playlist; you can drag files directly into it. Click ‘Options’ and set the output device to the project you just created in loopMIDI, which is Hello World here.
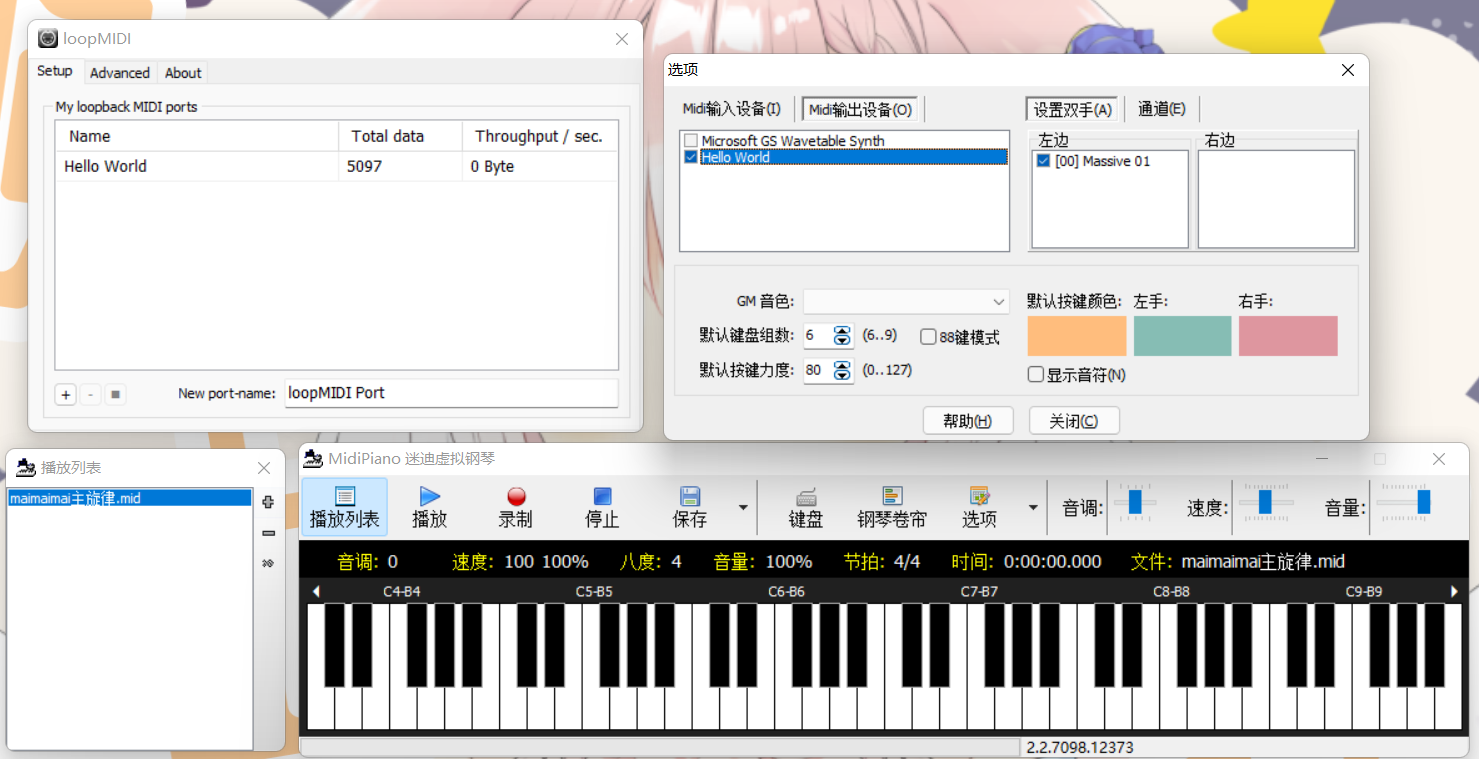
If a Pop-up Appears: “MIDI Input and Output Cannot Be the Same, It Will Crash!”
In ‘Options’, click on MIDI Input Device and deselect the project you just created in loopMIDI. Then switch to MIDI Output Device and enable it.
3) Start Playing
Now, go next to the piano in the Chinese World, select the bench, sit down, choose the song you want to play from the Playlist, and click Play.