Note: This method is for a temporary connection. You will need to reconfigure it if the virtual machine restarts or shuts down.
VM Network Adapter Settings
There are three main network adapter modes for virtual machines:
- Bridged Mode: Uses the same network segment as the host machine.
- NAT Mode: Uses the network segment assigned to VMware Network Adapter VMnet8.
- Host-only Mode: Uses the network segment assigned to VMware Network Adapter VMnet1.
Checking the IP Segment
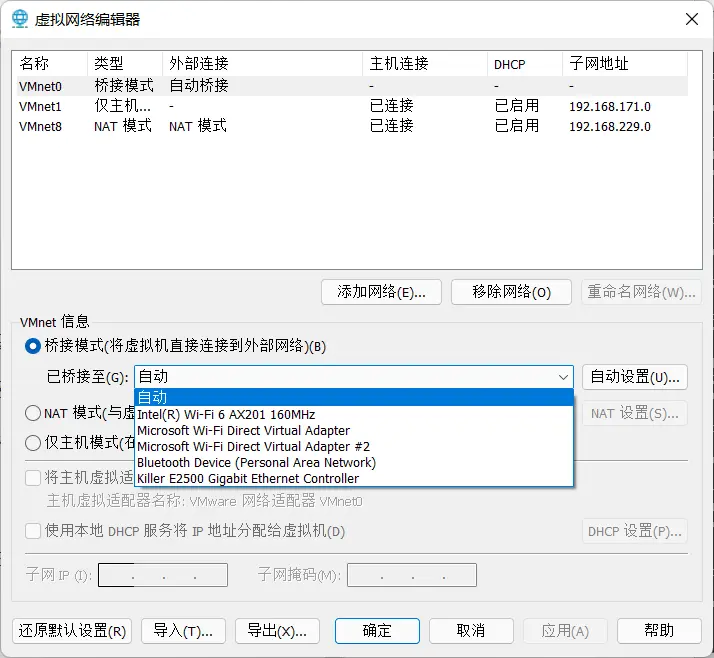
In VMware, go to Edit -> Virtual Network Editor to see the subnet addresses for VMnet1 and VMnet8.
For Bridged mode, you need to check your host’s network: go to Settings -> Network & Internet -> Advanced network settings and find your active connection.
- If using WiFi: Click WLAN -> View additional properties to see the IP address.
- If using Ethernet: Click Ethernet -> View additional properties to see the IP address.
Note: If your host is connected to both Ethernet and WiFi, you might need to manually configure the bridge in the Virtual Network Editor.
You’ll need admin rights. Select the specific network card you want VMware to bridge to, as shown below:
Setting the VM’s IP Address
Example: I’m using Bridged mode. My host IP is 192.168.1.116. I can set the VM to any address between 192.168.1.0 and 192.168.1.255 (except 192.168.1.116). The first three segments must match.
First, log in to the VM as root and run ifconfig to check the current configuration.
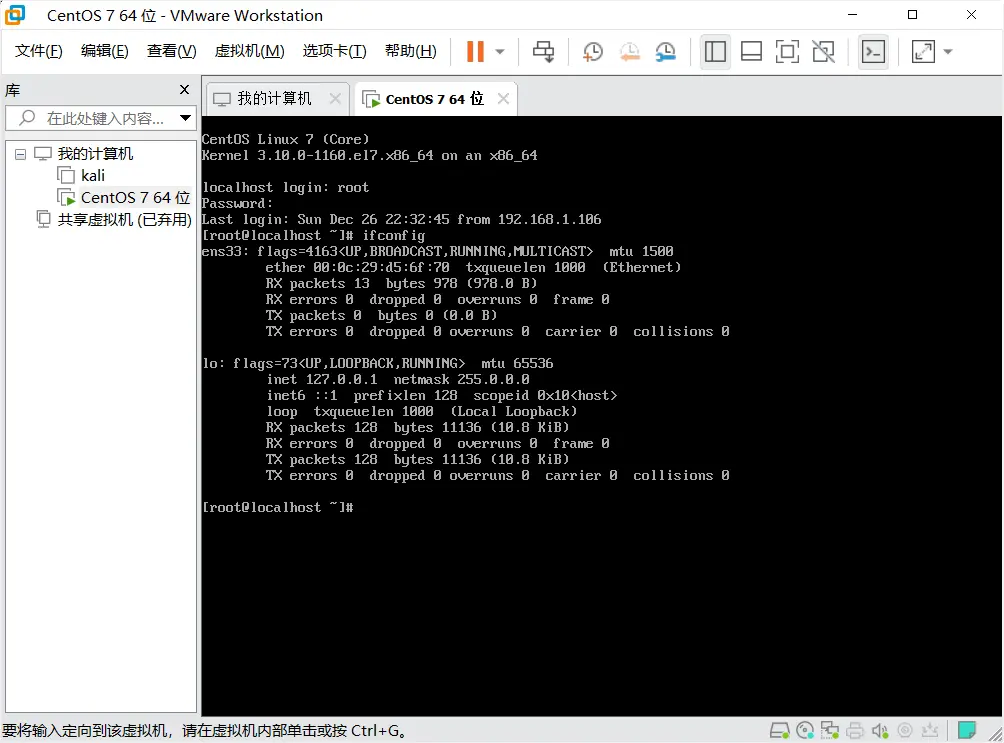
If you see ens33 and lo (or another name and lo):
Run:
| |
If only lo appears:
Run:
| |
After configuring, run ifconfig again to verify.
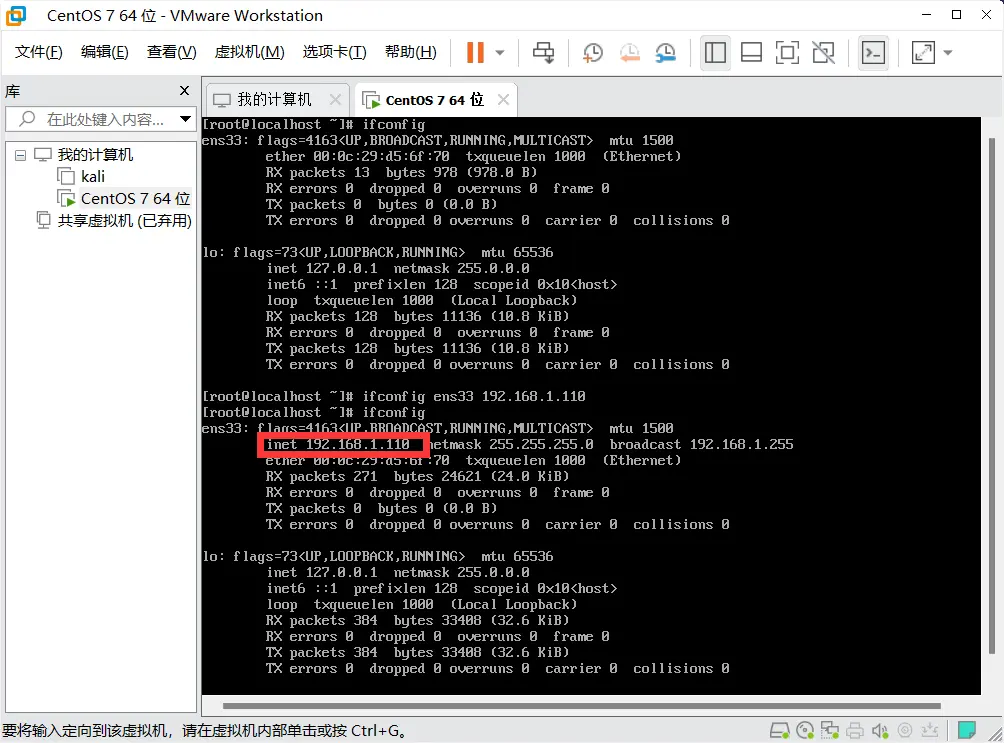
The IP is now successfully changed to 192.168.1.110.
Test the connection from your Windows terminal using ping 192.168.1.110.
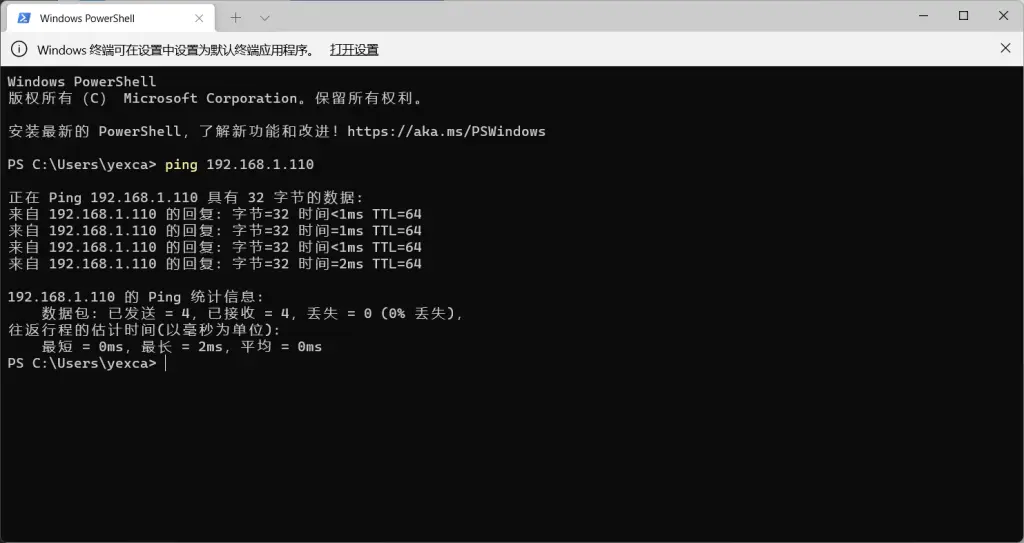
If you get a response, the IP is reachable.
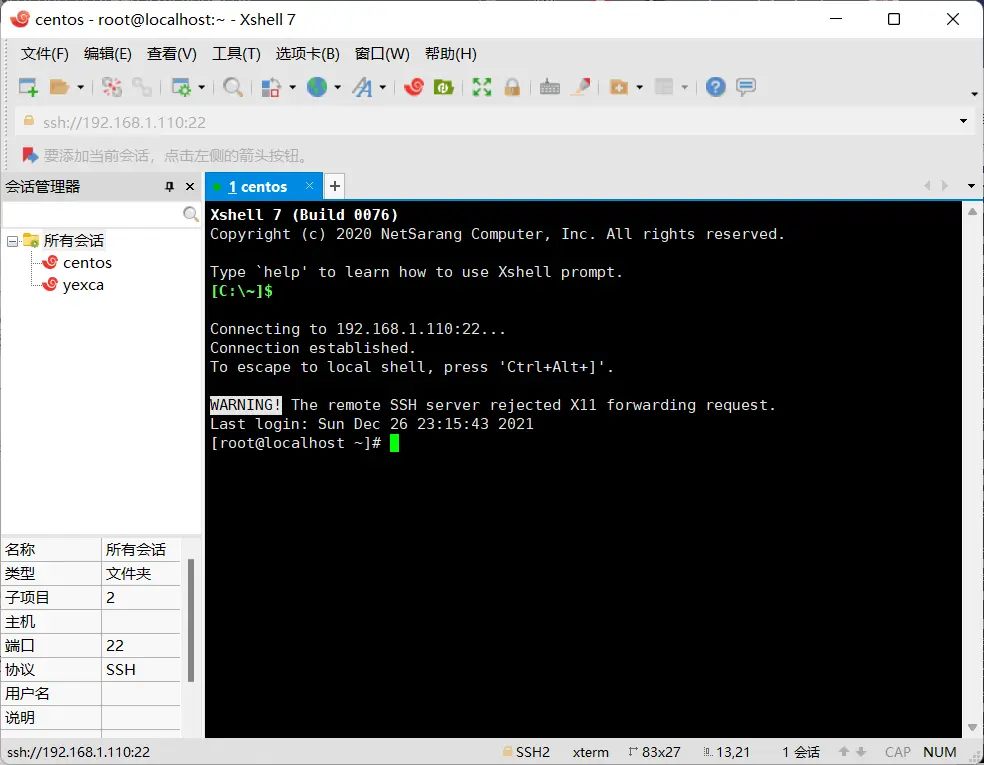
Connecting via Xshell
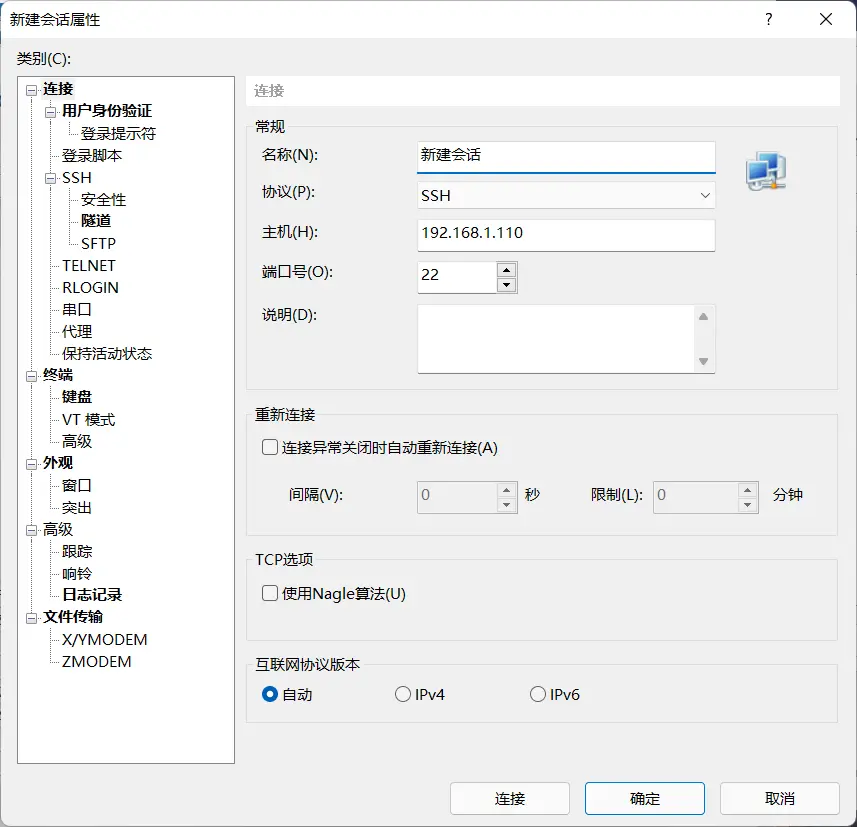
Open Xshell, click New. Give it a name, enter the IP address in the Host field, and click Connect.
Select Accept and Save for the host key, then enter your username (root) and password when prompted.